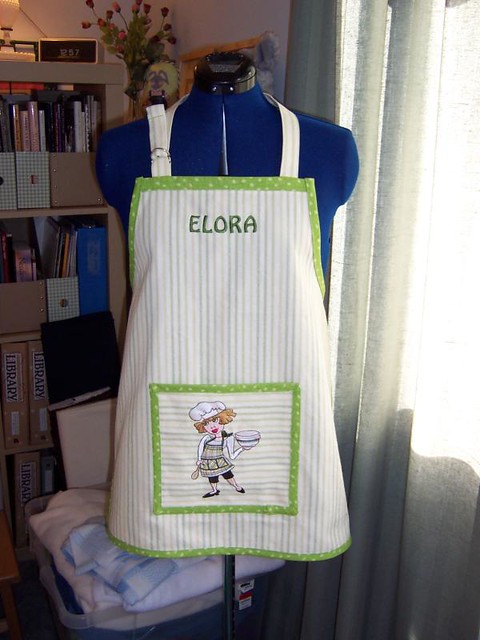
Elora's Apron Revealed
Earlier this month I posted a teaser about Elora's birthday gift. Now that she has received her gift, I can reveal that it was an apron.
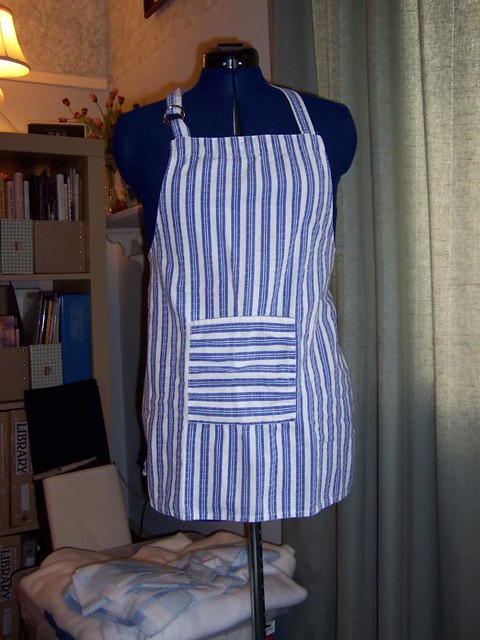
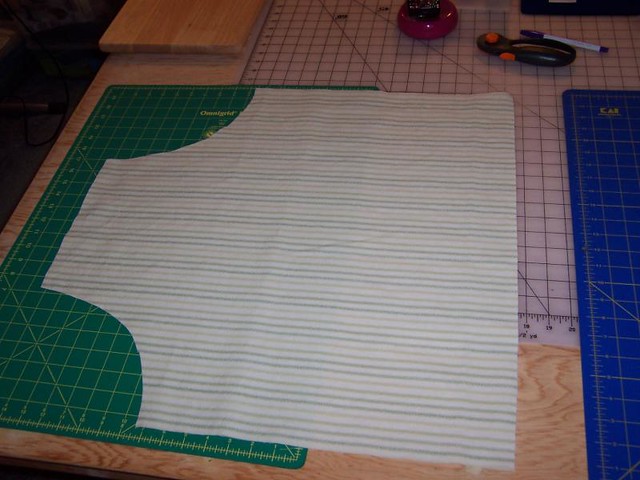
I used this purchased apron as a model to create a pattern by tracing around the edges with a water soluble pen.
I made binding from a coordinating home dec fabric and applied it to the three straight edges using steam-a-seam fusible web and then topstitching it in place. I didn't make perfectly mitered corners -- that's a technique I still need to keep practicing!
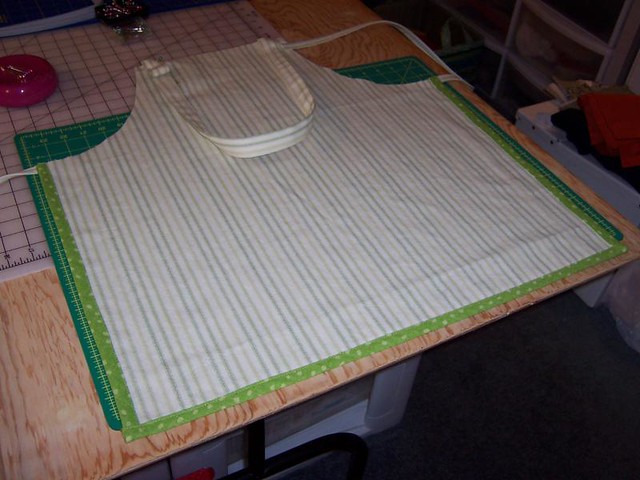
I made the ties and the neck strap pieces by cutting strips of fabric four times as wide as my finished pieces then double folding them towards the center and stitching down each long side to secure them. (This is exactly the same way I made the handles for my reusable grocery bags.) In the photo above, the ties are stitched in place, but the neck straps are just pinned on for placement.
After stitching the ties securely in place, I needed to attach the neck straps. Since I wanted it to look like it had the same binding as all the other edges, I needed to layer a piece of the green fabric underneath the neck strap pieces matching all the raw edges. I inserted 2 D-rings into the loop side on the left and basted the loop in place. Then I basted the adjustable neck strap to the main part of the apron on the right. Last, I needed to create a "facing" which would hide all these raw edges on the back side; when I topstitched the green "binding" on the front, the stitching also secured the facing panel on the back. I kind of made up the steps as I went along, so I don't have exact details on this part (and in my frustration, I did not take any photos).
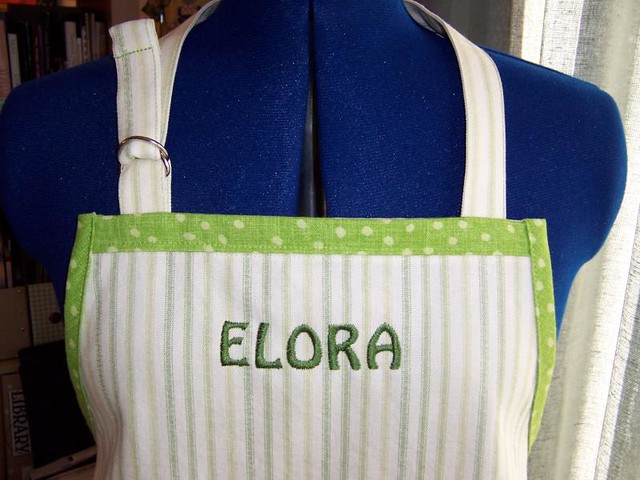
Once the top edge was complete, I added binding to the curved edges and the main part of the apron was complete. Here's a close up view of the top edge (the embroidery was added later):
After stitching the ties securely in place, I needed to attach the neck straps. Since I wanted it to look like it had the same binding as all the other edges, I needed to layer a piece of the green fabric underneath the neck strap pieces matching all the raw edges. I inserted 2 D-rings into the loop side on the left and basted the loop in place. Then I basted the adjustable neck strap to the main part of the apron on the right. Last, I needed to create a "facing" which would hide all these raw edges on the back side; when I topstitched the green "binding" on the front, the stitching also secured the facing panel on the back. I kind of made up the steps as I went along, so I don't have exact details on this part (and in my frustration, I did not take any photos).
Once the top edge was complete, I added binding to the curved edges and the main part of the apron was complete. Here's a close up view of the top edge (the embroidery was added later):
To adjust the neck, the loose strap is fed through both D-rings from the back, then pulled up and over the first ring and through the second ring. The model apron used metal circle rings, but all I could find locally were the D-rings, which work just as well.
Next came the pocket on the front:
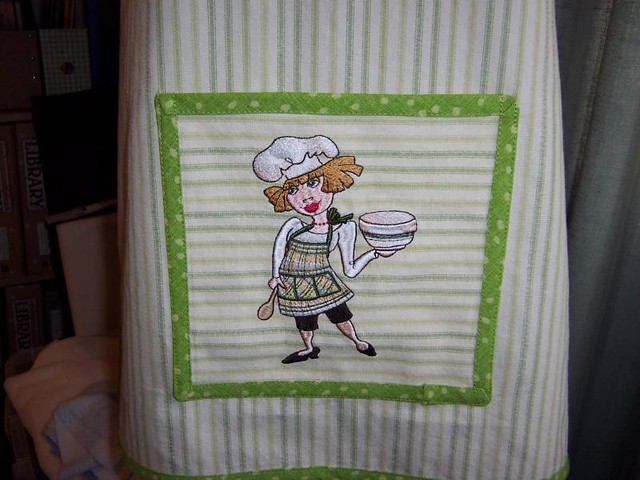
I had to stitch out this design 3 times to get it right! The first time, the colors didn't look right. The second time, my sewing machine had a meltdown in the middle of the embroidery and I had to "re-boot"; unfortunately, I couldn't line up the stitching correctly and ended up with a floating head. The third time was just about perfect. I purchased this embroidery design called Happy Cook from Loralie Designs (this is part of her Fun House design pack; I only purchased the single design).
Once the embroidery was complete, I tried several methods of making a pocket, and ripped it out at least 2 times. I eventually just added more binding around a fabric square and then topstitched the pocket in place. The last step was to embroider Elora's name at the top; I created the lettering using 4D Embroidery software.
To complete this birthday gift, I added a set of 4 wooden mixing spoons and a nifty green measuring spoon for our future cook!


It was worth all the work. This is too cute, Donna.
ReplyDelete