Skip to main content
Search
Search This Blog
SewAmazin
blogging about sewing, machine embroidery, needlework, quilting . . . and a few other notions!
Home
About
Finished Projects
Keli's Korner FB Group
SewAmazin's Studio Blog
More…
Posts
Showing posts from February, 2009
Show all
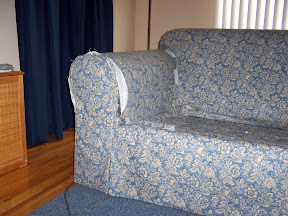
2/25/2009 01:20:00 PM
Slipcover Progress: Putting it together
2/21/2009 10:47:00 PM
Slipcover Progress: Cutting and Pin-fitting
2/21/2009 07:59:00 PM
MEET THE METS (1962) Baseball Theme Song
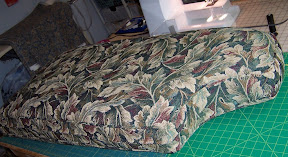
2/19/2009 12:48:00 PM
Slipcover Progress: Cushions are Done!
2/18/2009 12:40:00 PM
Thankful Heart Banner (another detour)
2/13/2009 11:58:00 PM
Happy Valentine's Day
2/13/2009 01:38:00 PM
Valentines Past
Newer Posts
Older Posts
Home