My Sewing Room Makeover, Part 4: Before and After
This is the last in a series of posts about my sewing room makeover, completed in July/August of 2014.
Part 1 shares my re-upholstered swivel chair and new window valance
Part 2 shares my new ironing station and refreshed work table
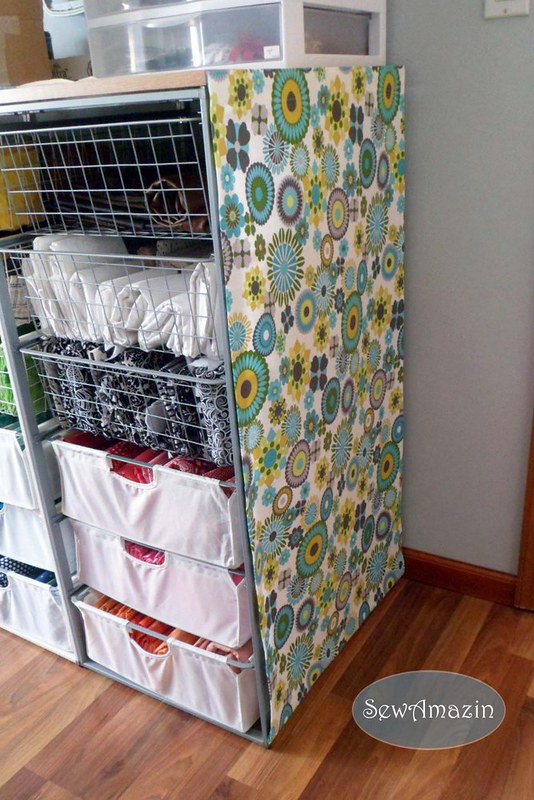
Part 3, shares a few finishing details: a dust barrier for the end of my shelving unit, a fabric storage box and my re-purposed Sewing Ladies embroideries
This post shares some of my before and after photos. The photos go clockwise around the room; some were taken at different angles before and after, so aren't perfectly lined up for comparison.
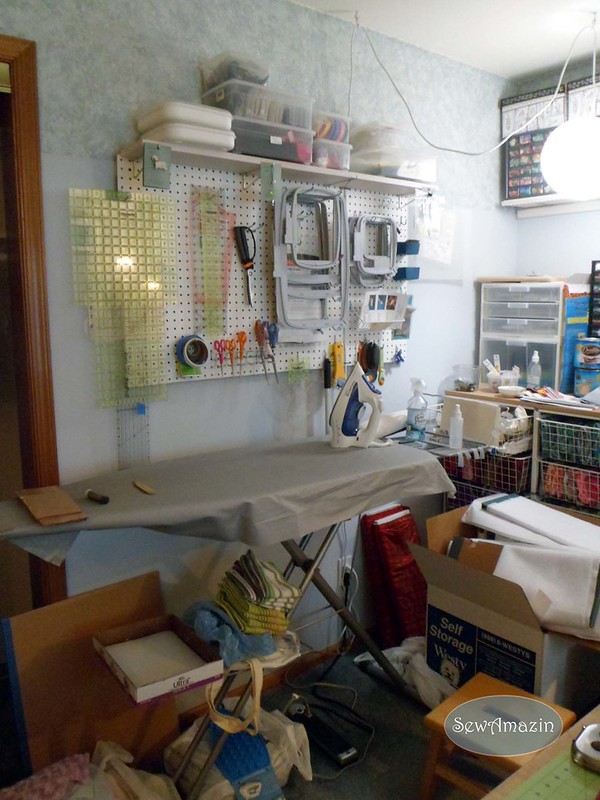
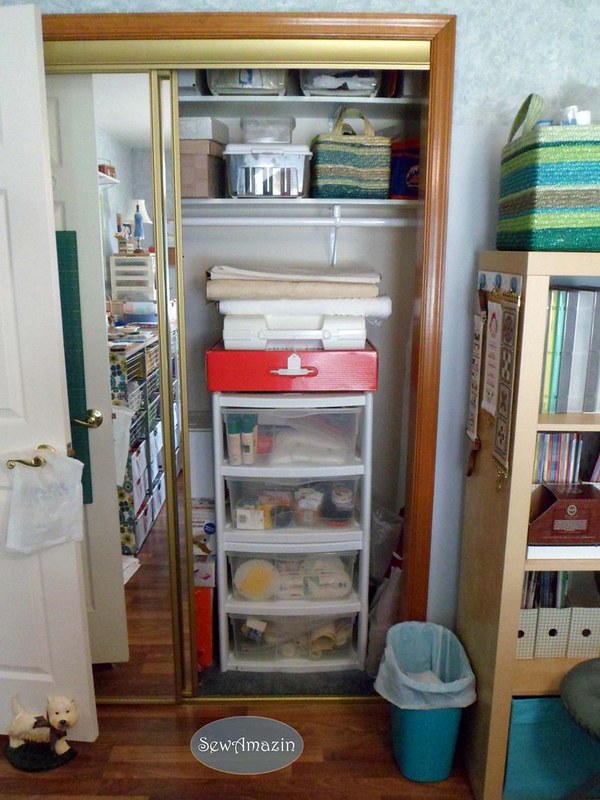
1 Left Wall/Corner/Closet
Before: Pegboard organizer, ironing board
After: Closet reorganized, bookcase storage relocated
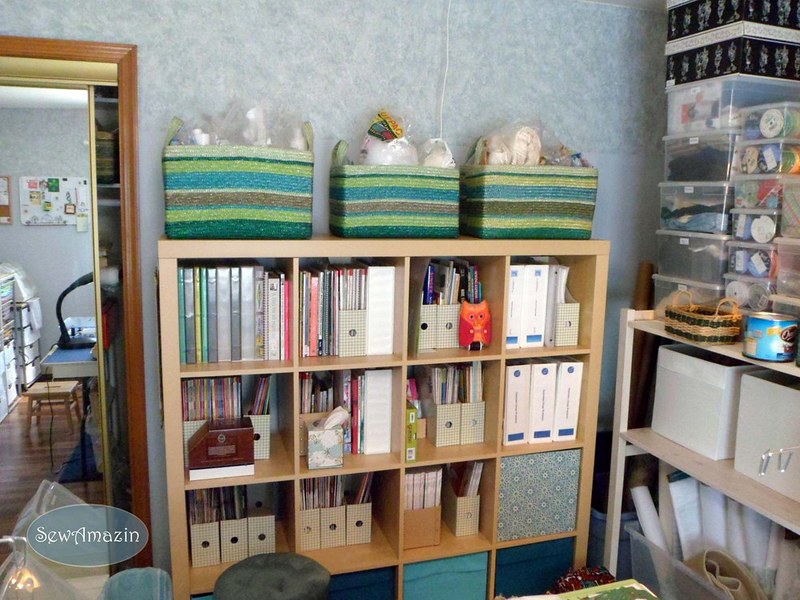
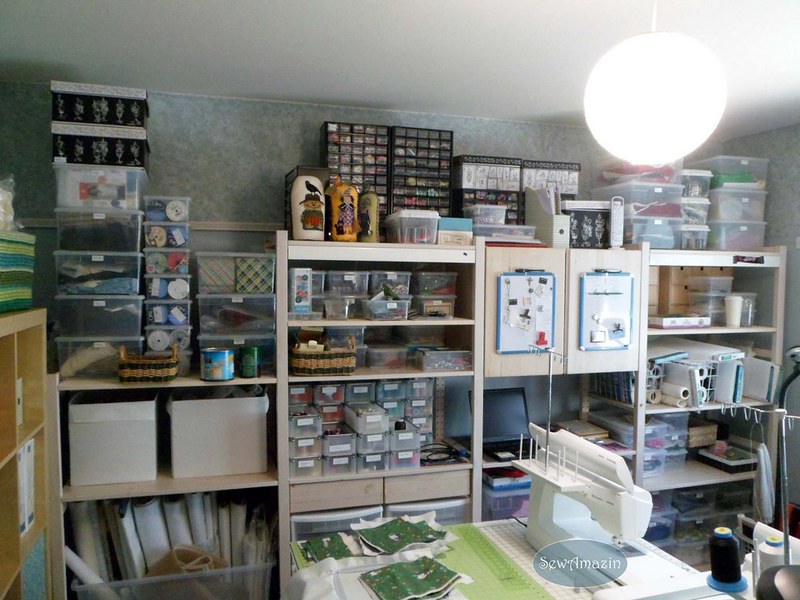
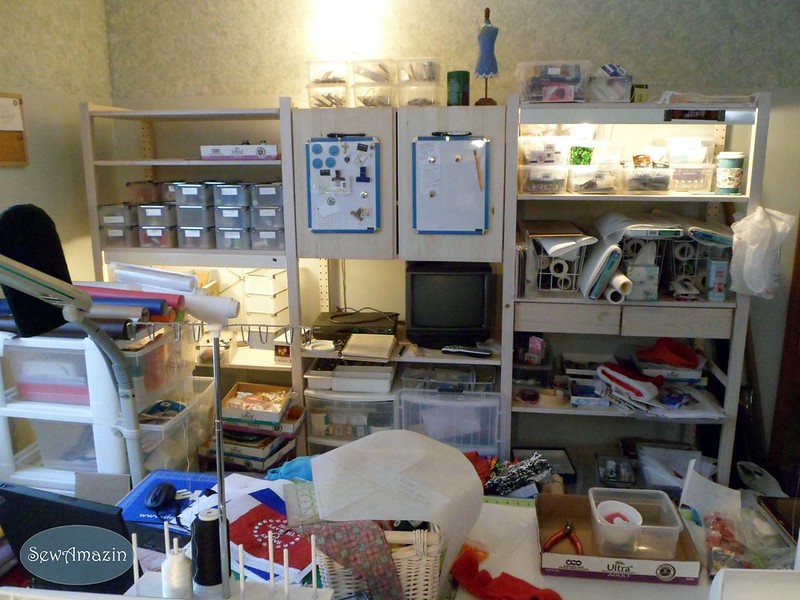
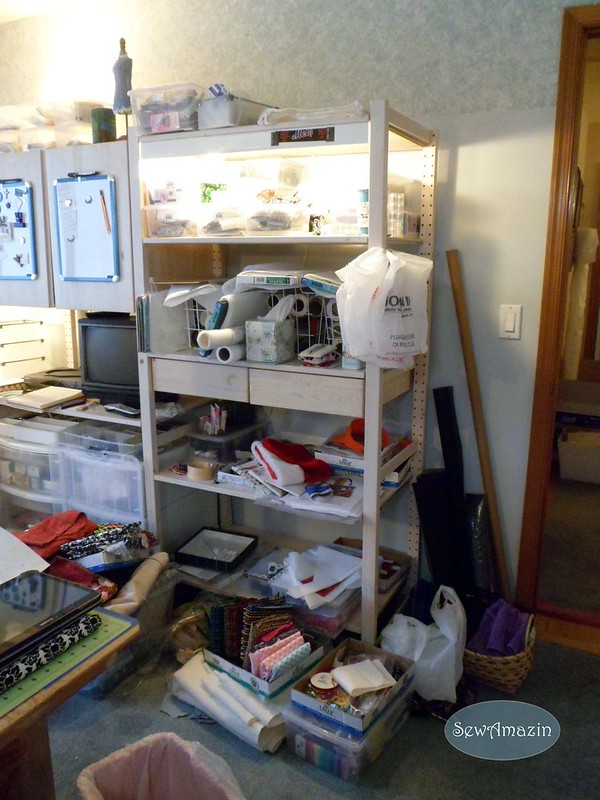
2 Side/Back Wall
Before: Fabric storage, bookcase, miscellaneous shelves

After: Relocated and expanded IVAR shelving units
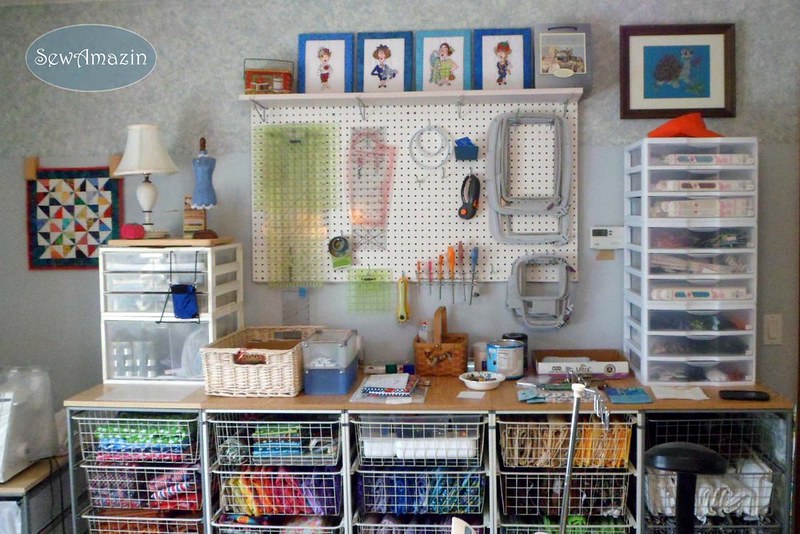
3 Right Side Wall
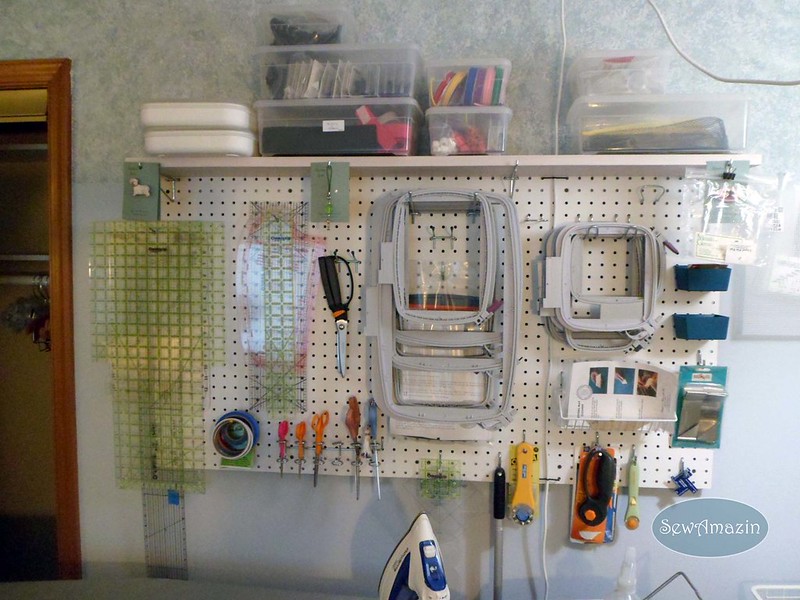
Before: IVAR shelving unit
After: Pegboard organizer relocated, fabric, zipper storage
Since 2015, some small storage pieces have been moved around, but the main layout of the room has turned out to be much more efficient!
In addition to reorganizing this room, I sorted my entire fabric collection and needleart supplies and moved a significant amount of storage bins to another 'guest' bedroom. So you could also call this an 'expansion' as well as a reorganization!


thank you for ideas of making sewing rooms look more useable even in small areas
ReplyDelete