Westie Embroidery - Digitizing my own design
When I was working on the Westie Miranda Bag, I wanted to quilt the cover with Westie outlines.
I tried free motion quilting . . . didn't like the results. Tried tracing a stencil outline onto fabric and following the line with stitching . . . hated that too.
At some point I remembered I could use the embroidery function of my Designer SE to do quilting patterns. So I searched through my collection of Westie embroidery designs to see if any of them incorporated a good outline step that I could use as a quilting pattern.
None of them really fit the image I had in mind, which was basically a stencil outline. I purchased a Westie stencil from Fawn River Graphics several years ago; they have stencils and diecuts for lots of dog breeds)
I toyed with the idea of using the Sketch module of 4D Embroidery to trace the stencil design using the tablet pen to create an embroidery design, but since reorganizing the sewing room I wasn't sure exactly where the tablet has been stored. It's in there, somewhere, in a safe place, I just need to remember where . . . I never did get a chance to practice using the pen anyway and since I wanted instant gratification I thought I'd proceed with "regular" digitizing. I've learned just enough about digitizing in the past year to create fairly simple embroideries. And I was determined that this one would be simple.
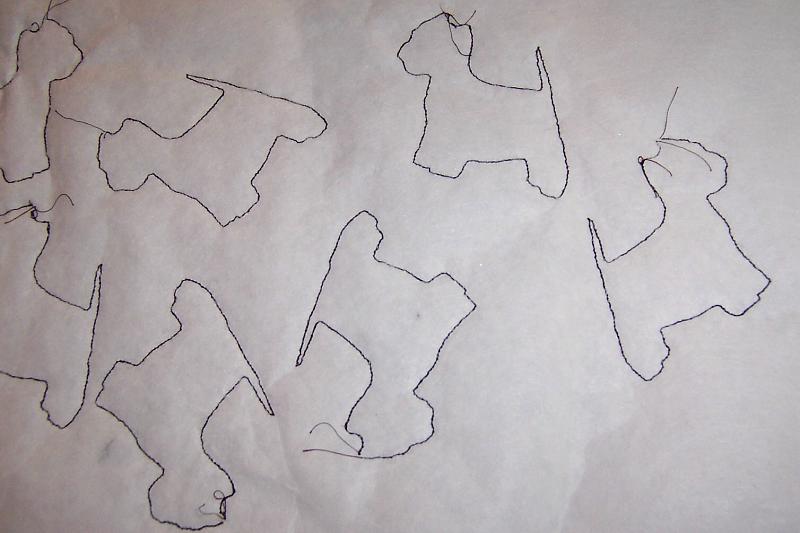
I traced the larger westie stencil and the paw print onto white paper and then scanned and saved that file as a .png format.
I traced the larger westie stencil and the paw print onto white paper and then scanned and saved that file as a .png format.
After cropping and re-saving the tracings as two separate files, I opened up 4D Professional Embroidery using the Design Creator module. There is a built-in Express Design Wizard that is new to this version (compared to 3D Embroidery) that will automatically walk the user through creating an embroidery design from a picture file. It works fairly well, but you need to start with good image in order to get a good result.
I tried using the wizard and ended up with basically what I wanted, but there were stray stitches and crooked lines in some areas. This was because there were stray pencil marks on my original file image. The image needed to be cleaned up.
In the 4D Design Creator module, there is a picture tab that allows the user to erase, draw, add color, etc. to adjust the image file. There are also different filters that help clean up the image. I used the eraser to clean up stray pixels, then added to the areas where the line had broken so that there were nice smooth outlines. I increased the outline size. Finally, I was satisfied with my image.
Using the wizard again, I created a design which was so close to being perfect -- but I must not have cleaned up the image enough, because there were still a few odd stitch placements that I could not eliminate.
I was growing impatient, so I told myself I should have learned how to do this without a "wizard" during last year's digitizing classes. Just think about it a minute -- a double running stitch should be suitable for the purpose I wanted to stitch the design, which was a quilted bag. So I experimented with the Preferences and created a few practice designs on-screen until I had exactly the Westie shape I wanted. Finally, I was satisfied with the design file, so saved it and did a few trial stitch-outs.
The whole process, from scanning the original image to preparing to stitch the samples took me only about 2 hours, mostly because I kept fussing with different options.
I chose Robison-Anton 40-wt rayon thread in Brown, used the regular embroidery foot, hooped my fabric, batting and a lightweight tearaway stabilizer in the Do-It-All hoop (150x150) and stitched the first sample.
The design was looking good, but the stitches were a little wonky -- the bobbin thread showed through to the front. I adjusted the top thread tension to loosen it a little bit and tried again. This time was better, but I could still see those bobbin threads poking through. I switched to the Sensor-Q foot and the results were almost perfect, so I changed to a black bobbin thread which didn't show at all for the final sample. Just what I was looking for!
I probably could have used another feature of the 4D program to create an endless embroidery design, but since I have yet to use the endless embroidery hoop I didn't want to fuss with that. If I do this again, I'll definitely re-visit that idea. Instead, I just hooped my bag fabric along with the batting and stabilizer in the Do-It-All hoop and randomly stitched the design all over the cover.
I used the Designer SE features to move the design around the stitching area, changed the angles of the design, reversed it to mirror image and just stitched it over and over again, re-hooping as necessary. It took me a couple of hours, but I was really very pleased with the results.


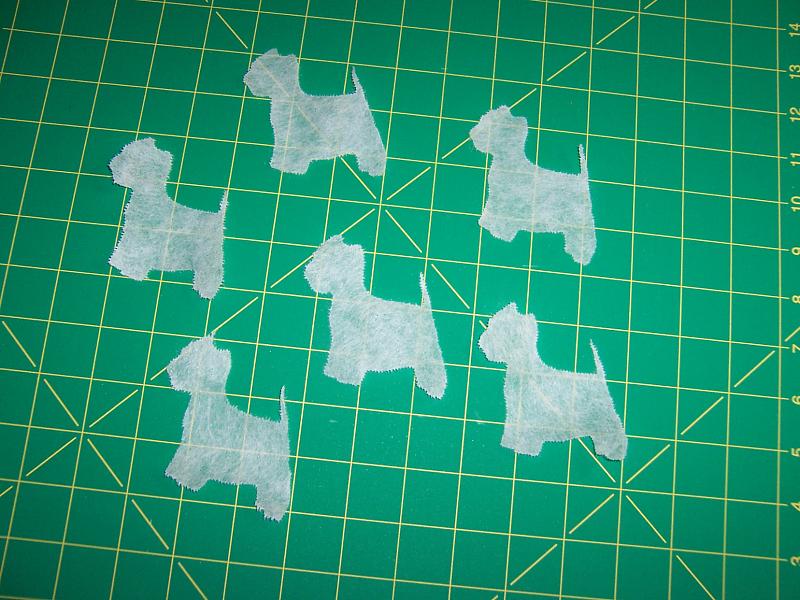
When I was done removing the stabilizer I had all these little paper Westies:

I followed the same procedure for creating a paw print design for the bottom section of the bag.


Comments
Post a Comment