My Sewing Room Makeover, Part 3: Dust Barrier, Fabric Box and Sewing Ladies
This is the third in a series of posts about my sewing room makeover, completed in July/August of 2014.
In Part 3, I'm sharing a few finishing details: a dust barrier for the end of my shelving unit, a fabric storage box and my re-purposed Sewing Ladies embroideries..
One more post will share some of my before and after photos.
Dust Barrier
After the furniture was moved back into the room, I sorted fabric and refilled my shelves. Part of my fabric collection is organized in a row of six Antonius frames and wire basket storage units from IKEA. One end is located right next to the doorway and was unprotected from traffic in and out of the room. In the past, this side accumulated dust and thread on some of the fabric, so I decided to make a barrier to protect it.
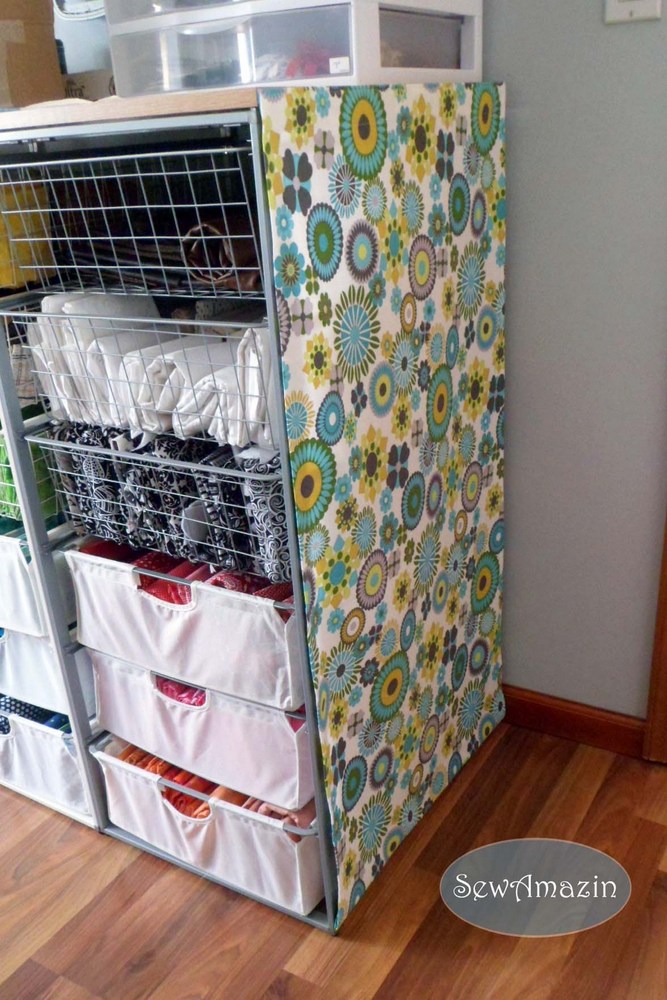

The dust barrier is really just a big rectangle with hems. I measured the height and width of the Antonius frame and cut the fabric a few inches larger. The raw edges were finished with an overlock stitch on the serger, then the vertical side hems were folded, pressed and top stitched, so that the width just covers the frame.
To attach the dust barrier to the frame, I used a home decor velcro that combines tapes of sew-on loops with sticky back hooks. The sticky back hook tape was too wide, so before it was applied along the top and bottom of the Antonius frame, I trimmed it lengthwise about 1/4 inch with a rotary cutter. The sew-on loop tape was stitched to the top and bottom of the fabric near the folded edge of the horizontal hems, then top stitched.
The home dec fabric used for the dust barrier matches the window valance I made earlier in the year. It works great, is washable and adds a nice pop of color to the entrance of the my studio!
Fabric Storage Box
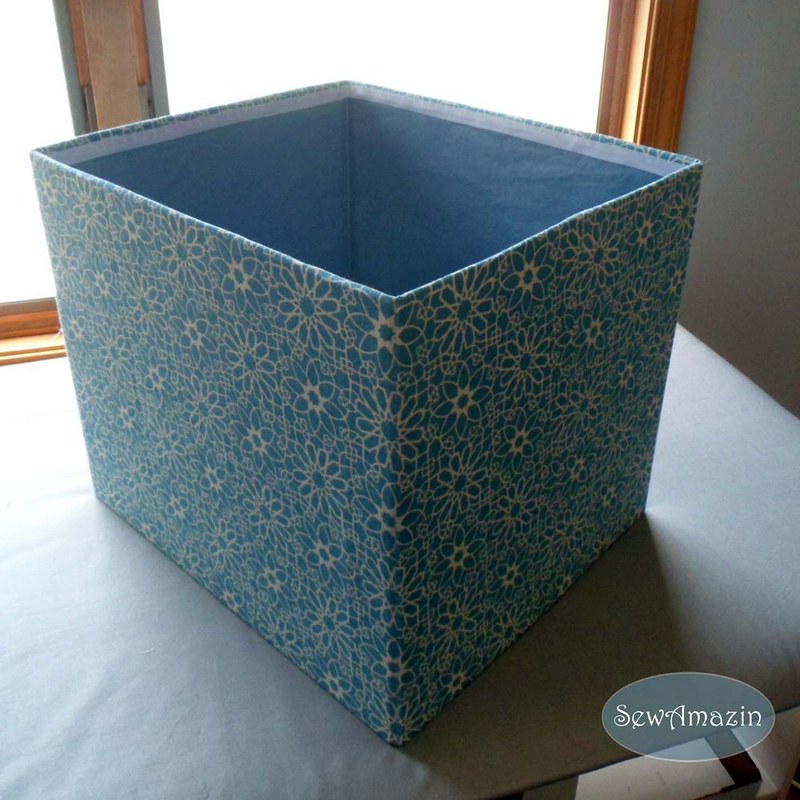
I have a half dozen Drona storage boxes in various colors from IKEA; they fit perfectly into the sections of my Expedit bookcase and hold a lot of fabric. After loading the top 3 rows of the Expedit with magazines and books and the bottom row with 4 Drona boxes, there was one section still open. I was short one box and decided to make one using coordinating home dec fabrics from my stash.
Over the past few years, I've collected a variety of tutorials for making fabric storage boxes on my Pinterest boards, Sewing Room Organization and Craft, Sewing, DIY Tutorials. The methods of constructing the boxes are all pretty similar, so I picked a few tips and techniques from each of them to make my box.
If you've made a simple bag with boxed corners on the bottom, the basic construction is pretty much the same idea. It has a cover and a lining, and at each corner of the box, vertical stitching through both layers create four 'pockets'. Pieces of stiff cardboard are inserted into these pockets to give the box it's structure.
In some of the tutorials, the last step has a double folded bias binding stitched along the top edge of the box, sewn right through the cardboard. I used acid free backing board - left over from the days when I framed my own cross stitch and needlework samplers - and sewing through that was completely out of the question! Instead, I folded the fabric to the inside and used fusible tape to secure it. The raw edges are hidden with more fusible and white twill tape. The bottom of the box is a 5th piece of backing board, covered with a fabric sleeve.
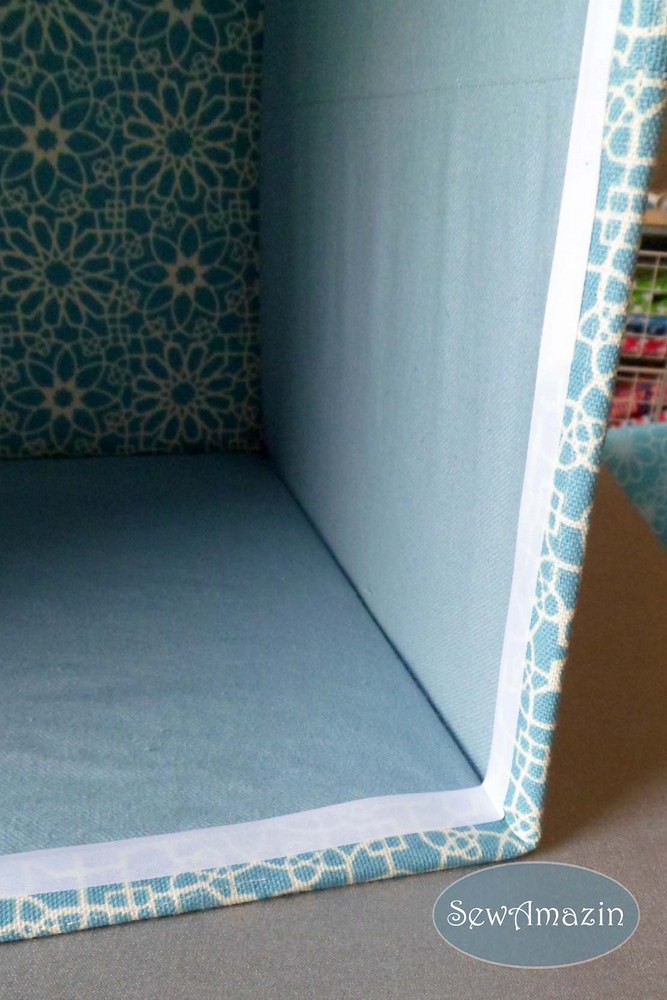
It fits perfectly on my bookcase! Four of the Drona boxes are in the bottom row of the Expedit, my new box is on the 3rd row and holds my collection of smaller home dec fabric remnants.
Sewing Ladies Re-purposed
Shortly after I acquired my first embroidery machine, I purchased these two design collections by Loralie Designs, the Fun Ladies and the Busy Ladies.
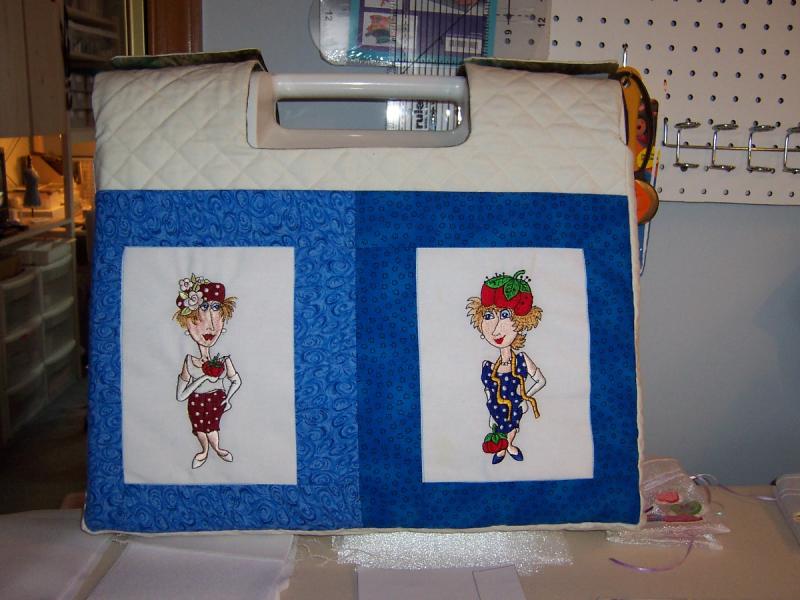
In 2006, I made a quilted cover for the embroidery arm case. Pockets on each side of the cover were made using stitchouts of four of the ladies. One side had Pin Cushion Lady and Pinhead from the Fun Ladies collection:
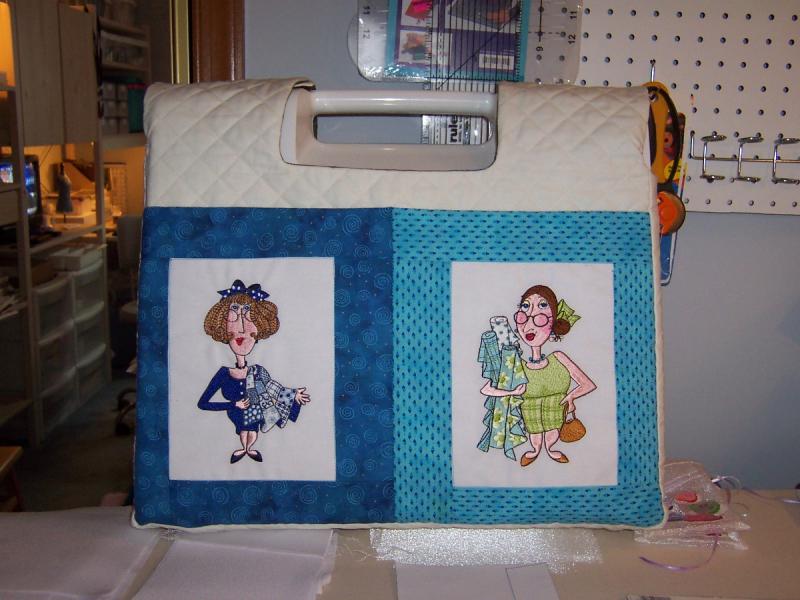
The pocket on the other side had Seams Blue, from the Fun Ladies and Fabric Hugger from the Busy Ladies:
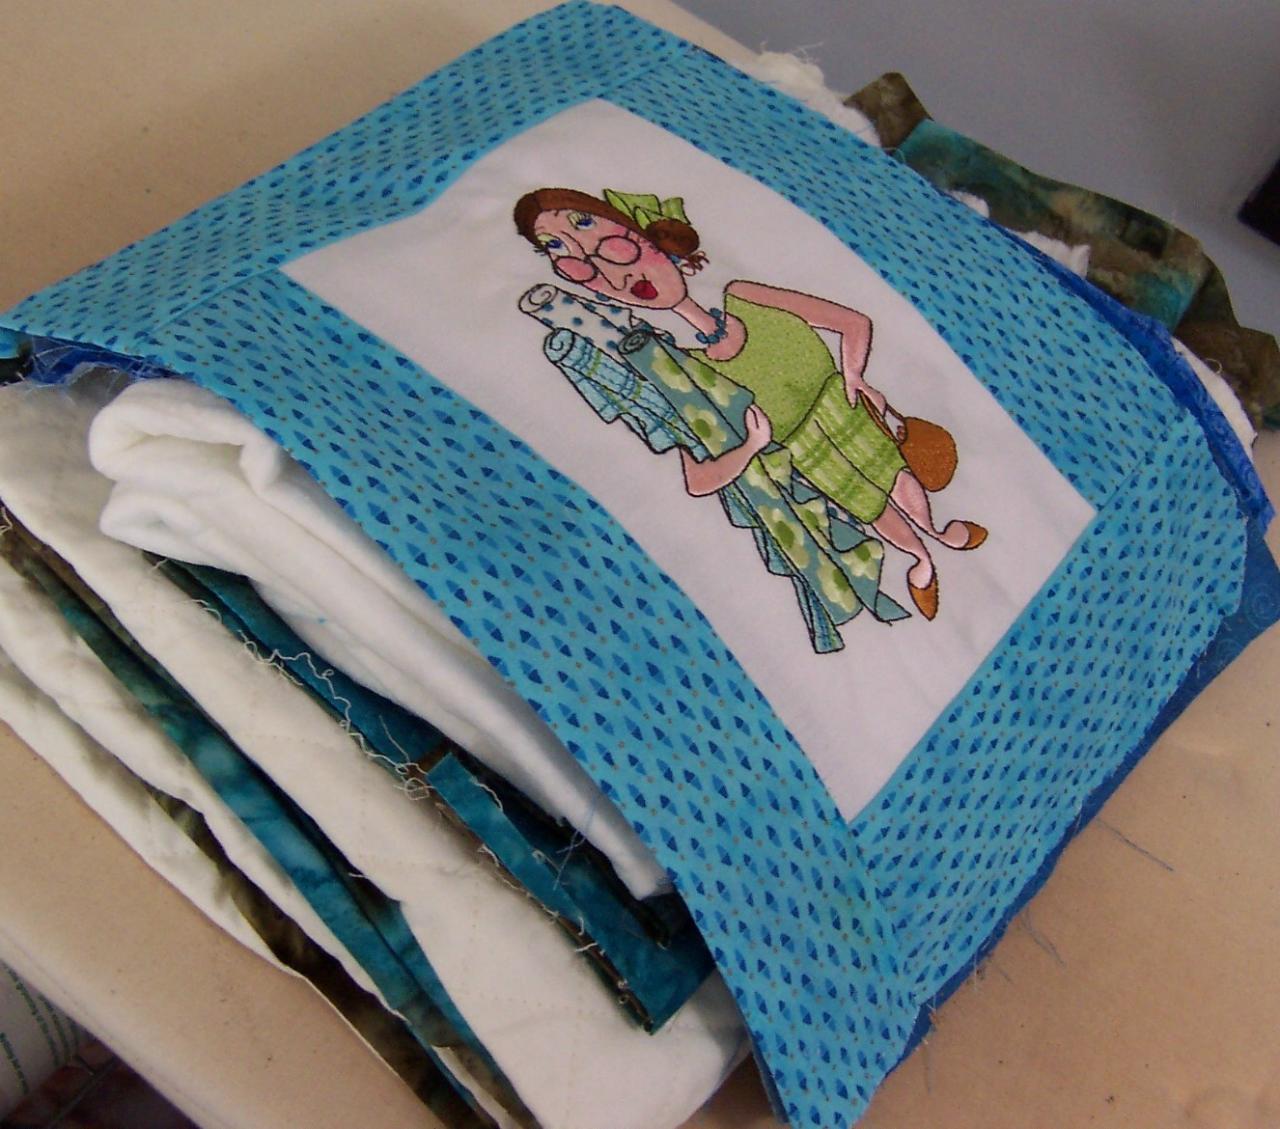
The cover spent more time off of the embroidery arm case and stored in the closet, so I decided to take it apart and re-use the lades for something else. In 2009, I took the cover apart and salvaged batting, fabric and embroideries for an undetermined future project.
My Sewing Ladies were re-discovered when I emptied my sewing room for the makeover. Of course, they had to be part of my new and improved studio! Another visit to Pinterest gave me the idea to frame them for display.
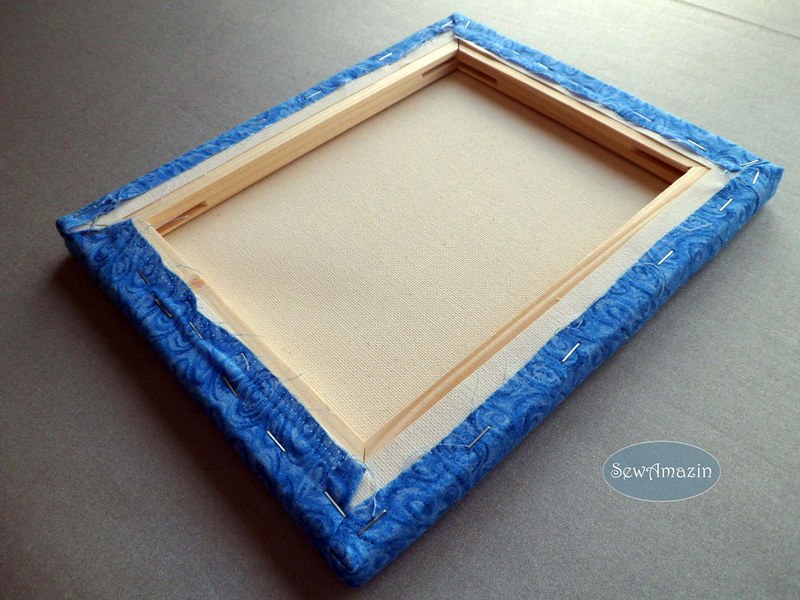
To keep it simple, each lady's fabric and her salvaged batting were wrapped around and stapled to the wooden frame of an 8x10 art canvas.
To keep it simple, each lady's fabric and her salvaged batting were wrapped around and stapled to the wooden frame of an 8x10 art canvas.
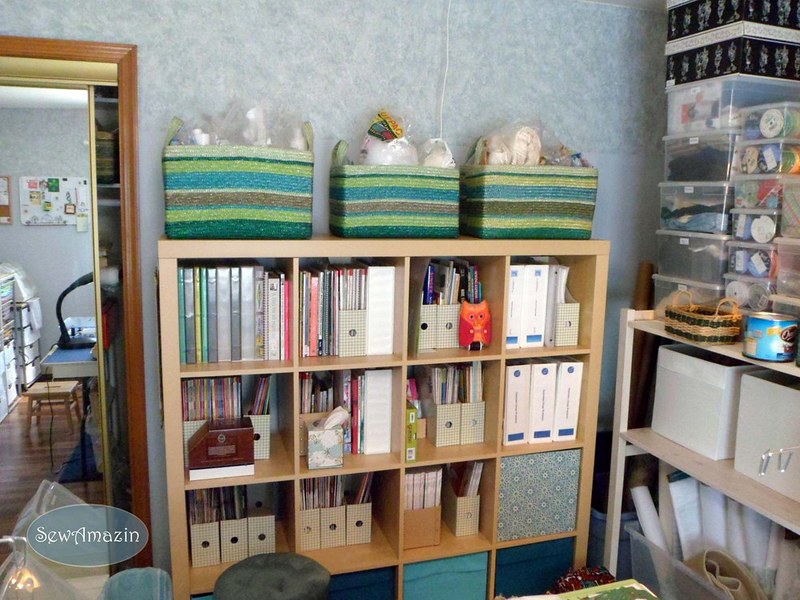
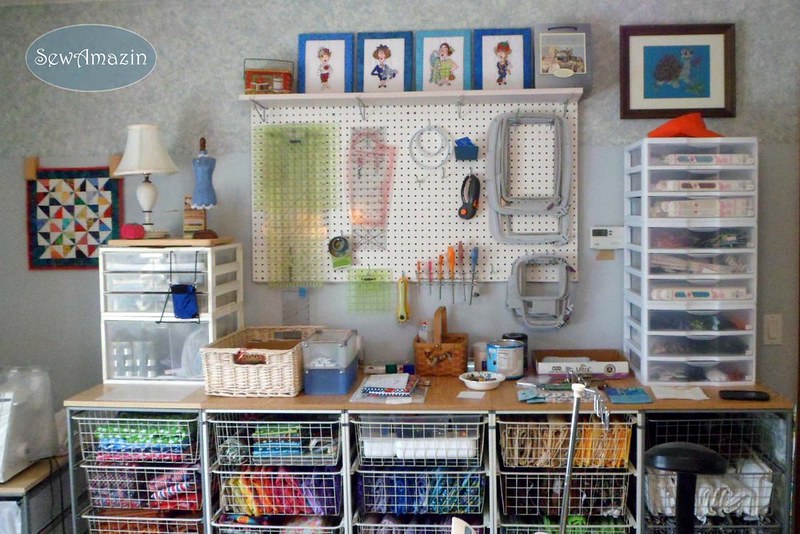
After they were mounted, I decided to display them in a row on a shelf in my finished room:
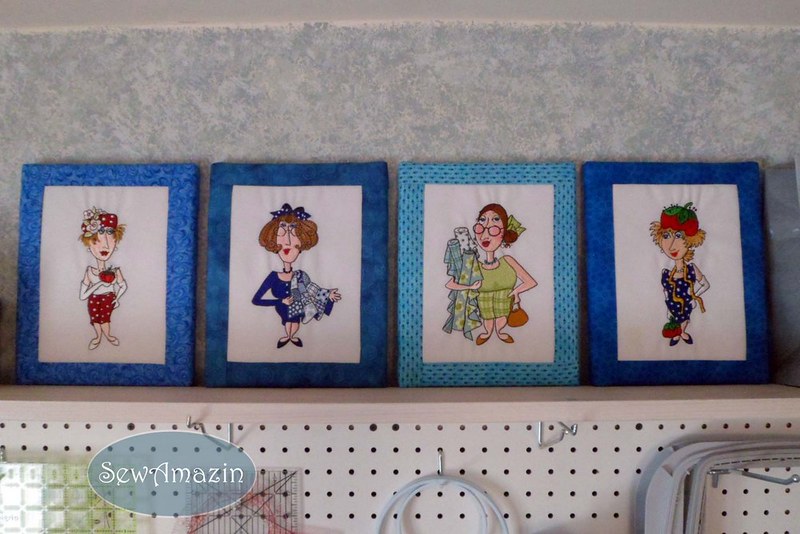
The shelf sits on top of my pegboard organizer, so now I can see my Sewing Ladies every day!


What a great creative space ~ and I love what you're doing with it!
ReplyDeleteThat looks amazing!! I can only dream of having my own space...but until then I'll live vicariously though others :)
ReplyDeleteThanks for the great ideas how to cover the IKEA Drona boxes... i used your idea, and since i'm a penny pincher, i bought just enough fabric to go over the edges of one side, (6 feet for 8 cubes) and i used some iron-on interfaces only on the edges. My daughters room looks great! she is suPer happy :) <3
ReplyDelete