My Sewing Room Makeover, Part 2: Ironing Station and Work Table
The theme of this sewing room makeover project was re-use, re-purpose and re-new! I was determined to keep as much of my furniture, storage units and containers as possible while sticking to a reasonable budget.
Re-purposed: Ironing Station
I'm beginning this post with my new ironing station, since it was the main reason this project was upgraded from a simple clean-up to a full blown reorganization.
Originally, I set aside two weeks in January for my clean-up project, just to sort fabric and supplies and do a general clean sweep of my sewing room.
After I finished re-covering my chair and updating the window treatment (Part 1), I searched Pinterest for organization ideas and was inspired by these pins of ironing boards on top of shelving units:


In order to make an ironing station work in my space, I would need to completely re-arrange the furniture and storage units in my sewing room; if I needed to move all the furniture, I figured I might as well replace the old rug. And if I was going to replace the rug in my sewing room, I had to replace the rug in the guest room, too.... you can see how this simple project starting snowballing into a larger one! So I postponed the makeover until the summer when I hoped to have more time.
Throughout the spring months, I searched for a suitable piece of used furniture to re-purpose for the ironing station but didn't find anything. I was considering buying either a kitchen island or cabinet if I could find a bargain. Then I received an email from Nancy's Notions with this Ironing Center which was just about perfect! Except the price didn't quite fit my budget (sorry for the blurry image - click through to Nancy's site for the full description).

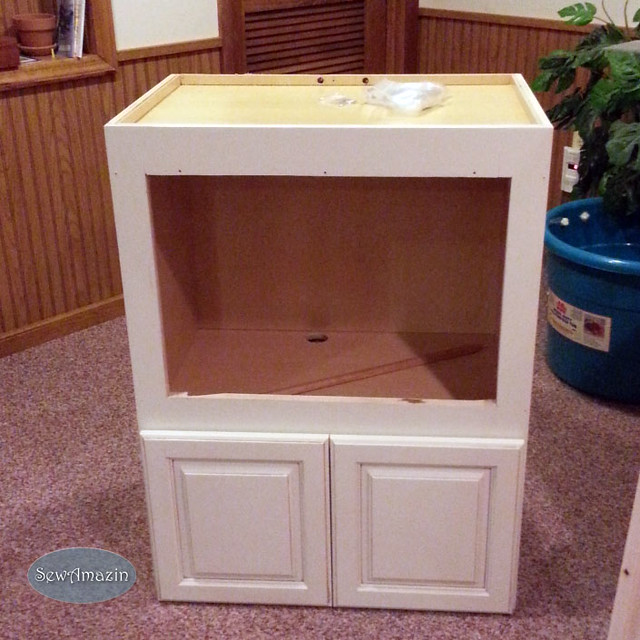
For some reason I had forgotten we had this microwave cabinet, left over from our kitchen remodel in 2009. It's the perfect size for my ironing station AND the price was right. I decided to turn it upside down, so the section with the doors is at the bottom near the floor. All I needed now was a board to fit on top.
Flash forward to July - We didn't decide to install laminate flooring until after the sewing room was empty and the rug had been removed, which meant I had about two weeks on my hands, waiting for the flooring supplies to be delivered. During that down time, I worked on several projects, including the board for the sewing station.
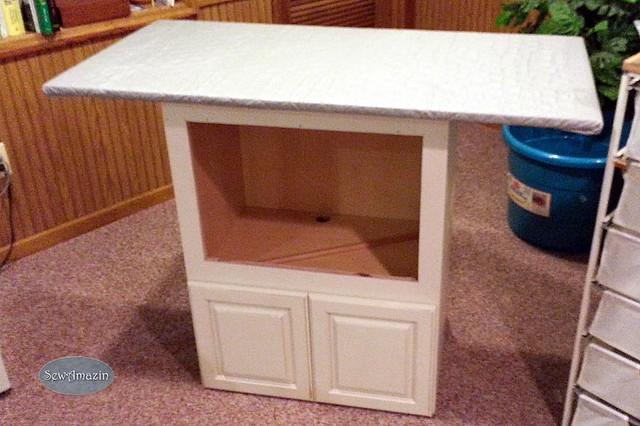
The board is 2 x 4 foot MDF from Home Depot, covered in quilted ironing board fabric. The fabric is wrapped a few inches around the edges and stapled to the bottom of the board.

After the room was finished, I worked on a few small projects and decided the MDF board was too hard and needed some extra padding. Some of my old ironing board covers were made of layers of batting, foam and heavy muslin, so I decided to replicate that combination.
I used polyester batting and muslin from my stash, and bought a yard of headliner foam from JoAnn Fabrics. I cut the foam and batting a little larger than the board and the muslin a few more inches larger, then folded the muslin around the other two layers and stitched all around the edge to make a simple pad.
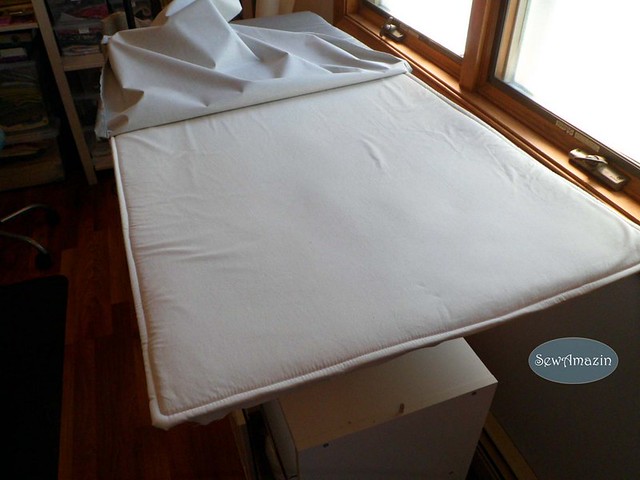
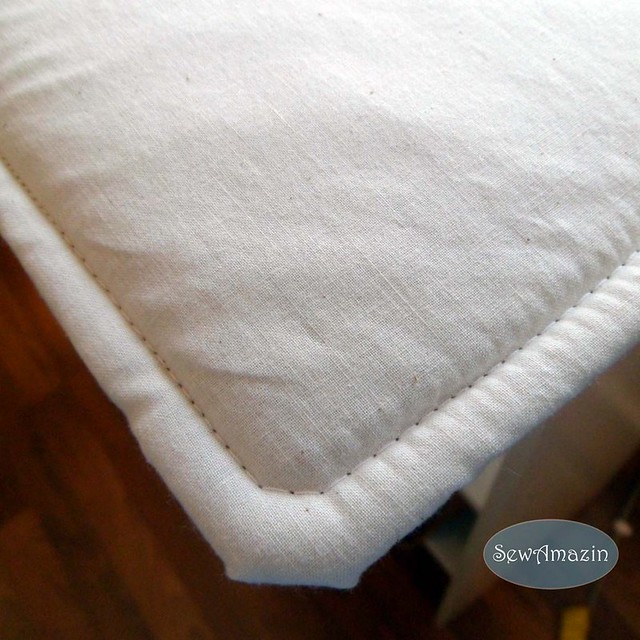
To protect the padding, I cut a piece of ironing board fabric a few inches larger than my board, serged around the edges to prevent it from fraying and attached it using ironing board clips at the corners.
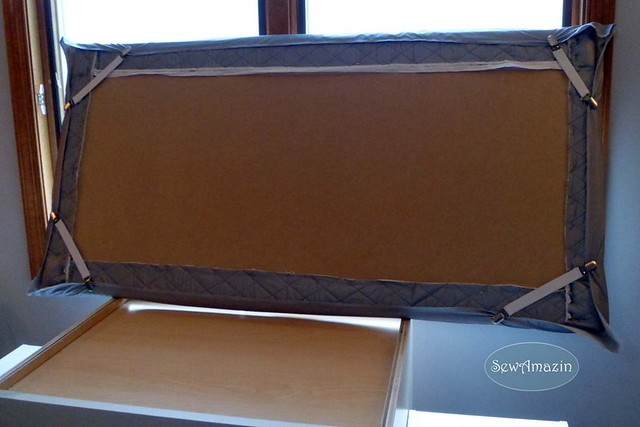
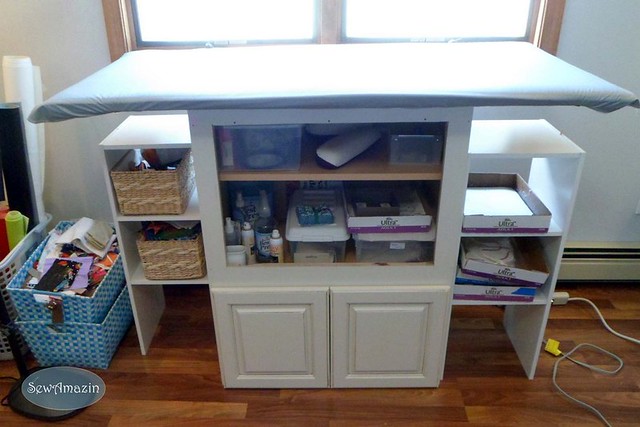
The finished board simply rests on top of the microwave cabinet. I added a piece of wood shelving inside the open section for storage. Luckily we had a piece that fit perfectly inside, so I only needed to drill some holes for the support hardware. Finally, I added two small shelving units on either side of the cabinet.
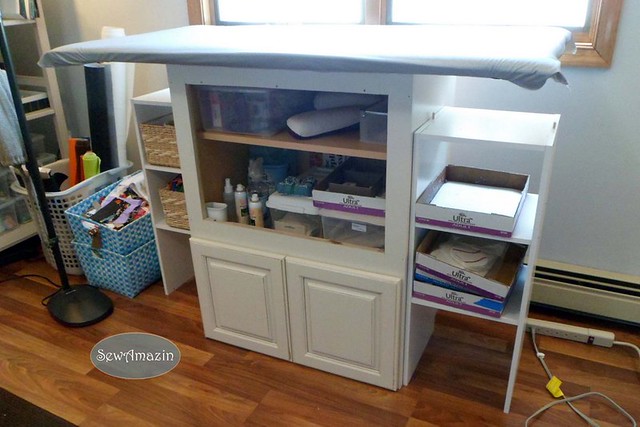
The new ironing station works great! It's located right behind me when I'm sewing, making it very convenient as a work surface and for pressing fabric.
While I was waiting for my laminate flooring to arrive, I also worked on my sewing table.
My work table was a plain plywood table top, handmade by my father, probably before 1990. We used to put it on top of an old oval kitchen table so we could fit everyone around the table for Thanksgiving. I added folding banquet legs to it about 16 years ago and have been using it ever since.
Even though the table is usually covered with fabric cutting mats, the unfinished, edges were starting to get splintered and snag some fabrics, so I wanted to sand and refinish it. After considering wood stain and polyurethane, I finally decided to paint it with Benjamin Moore Natura White Chocolate semi-gloss, leftover from painting the kitchen and powder room trim.
Now it's all nice and smooth and looks clean and bright!
Additional photos are in my Sewing Room Reorganization Album on Flickr
My Sewing Room Organization & Inspiration Board on Pinterest:
Follow Donna's board My Sewing Room Organization & Inspiration on Pinterest.
Throughout the spring months, I searched for a suitable piece of used furniture to re-purpose for the ironing station but didn't find anything. I was considering buying either a kitchen island or cabinet if I could find a bargain. Then I received an email from Nancy's Notions with this Ironing Center which was just about perfect! Except the price didn't quite fit my budget (sorry for the blurry image - click through to Nancy's site for the full description).
For some reason I had forgotten we had this microwave cabinet, left over from our kitchen remodel in 2009. It's the perfect size for my ironing station AND the price was right. I decided to turn it upside down, so the section with the doors is at the bottom near the floor. All I needed now was a board to fit on top.
Flash forward to July - We didn't decide to install laminate flooring until after the sewing room was empty and the rug had been removed, which meant I had about two weeks on my hands, waiting for the flooring supplies to be delivered. During that down time, I worked on several projects, including the board for the sewing station.
The board is 2 x 4 foot MDF from Home Depot, covered in quilted ironing board fabric. The fabric is wrapped a few inches around the edges and stapled to the bottom of the board.
After the room was finished, I worked on a few small projects and decided the MDF board was too hard and needed some extra padding. Some of my old ironing board covers were made of layers of batting, foam and heavy muslin, so I decided to replicate that combination.
I used polyester batting and muslin from my stash, and bought a yard of headliner foam from JoAnn Fabrics. I cut the foam and batting a little larger than the board and the muslin a few more inches larger, then folded the muslin around the other two layers and stitched all around the edge to make a simple pad.
To protect the padding, I cut a piece of ironing board fabric a few inches larger than my board, serged around the edges to prevent it from fraying and attached it using ironing board clips at the corners.
The finished board simply rests on top of the microwave cabinet. I added a piece of wood shelving inside the open section for storage. Luckily we had a piece that fit perfectly inside, so I only needed to drill some holes for the support hardware. Finally, I added two small shelving units on either side of the cabinet.
The new ironing station works great! It's located right behind me when I'm sewing, making it very convenient as a work surface and for pressing fabric.
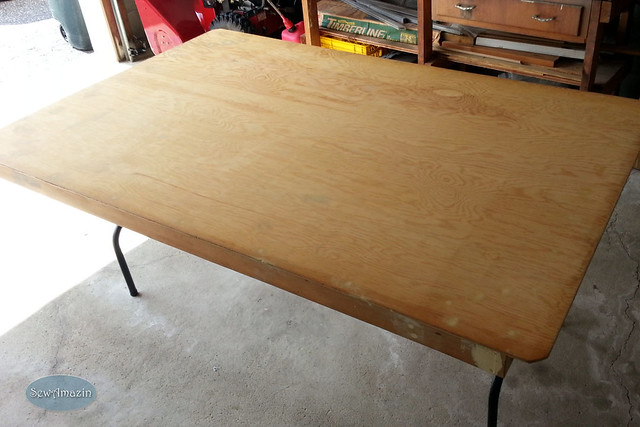
Renewed: Work Table
While I was waiting for my laminate flooring to arrive, I also worked on my sewing table.
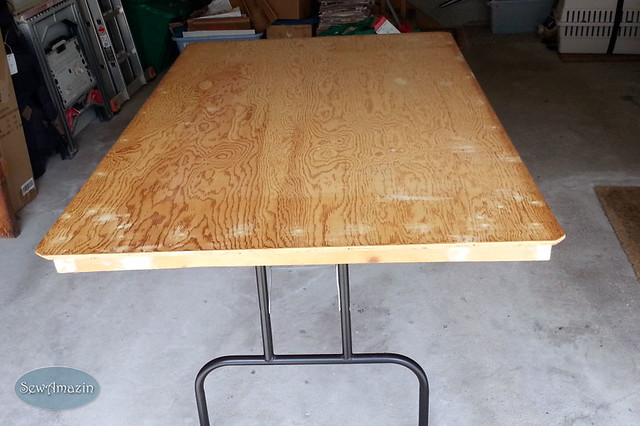
My work table was a plain plywood table top, handmade by my father, probably before 1990. We used to put it on top of an old oval kitchen table so we could fit everyone around the table for Thanksgiving. I added folding banquet legs to it about 16 years ago and have been using it ever since.
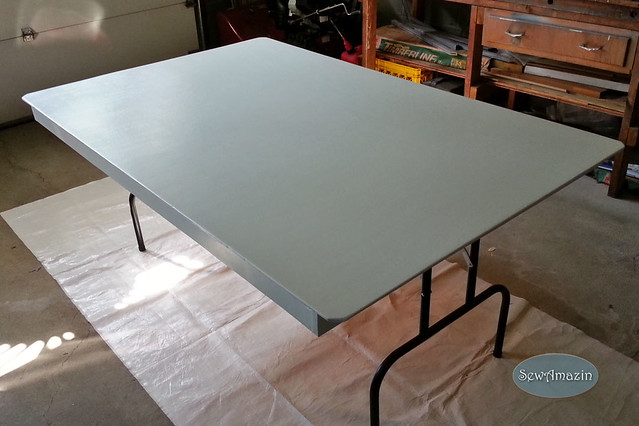
Even though the table is usually covered with fabric cutting mats, the unfinished, edges were starting to get splintered and snag some fabrics, so I wanted to sand and refinish it. After considering wood stain and polyurethane, I finally decided to paint it with Benjamin Moore Natura White Chocolate semi-gloss, leftover from painting the kitchen and powder room trim.
Now it's all nice and smooth and looks clean and bright!
Additional photos are in my Sewing Room Reorganization Album on Flickr
My Sewing Room Organization & Inspiration Board on Pinterest:
Follow Donna's board My Sewing Room Organization & Inspiration on Pinterest.


Comments
Post a Comment